Showing posts with label Valentines Day. Show all posts

Happy Valentines Day!

Sunday, 14 February 2016

A collage of pictures of myself and my boyfriend

I remember a time when I was single, and I absolutely hated Valentines day. In fact I remember a time when I was in a relationship and still didn't like Valentines day. Thankfully since meeting my current boyfriend, and love of my life (sick buckets at the ready everyone!), I really enjoy Valentines Day. I am a very lucky girl and Tim always spoils me rotten on Valentines Day (not that he doesn't the rest of the year).

 photo signature_zpsdqnlsjzz.png

The Oracle Valentines Event with Urban Decay

Saturday, 13 February 2016

A few days ago I was sent an invitation for an event that got me very excited. It was a Valentines makeover event at Urban Decay in the House of Fraser at The Oracle shopping centre in Reading. Of course I jumped at the chance to get my makeup done, especially as I had never had it done at an Urban Decay counter before. So yesterday evening I made the journey into Reading, all set to be pampered like mad.

Photo of urban decay stand with heart balloons

On arrival we were offered a sparkling drink, but as this was alcoholic I declined. Then once everyone had arrived the team started by giving us a little brand introduction to Urban Decay. I was obviously aware of Urban Decay before this event, particularly for their eyeshadow palettes, and eye primer potion. The team told us that Urban Decay was founded in 1996, because the founder thought that there was a distinct lack of colour in high end makeup. They also told us that their most popular products (other than the Naked palettes) are their setting sprays. 

Then we moved on to the makeover part of the event, and they explained that as it is Valentines this weekend that they would do the makeover as sort of a 'speed date'. So each of the team had their own station of either complexion, eyes, and lips. We would then take turns rotating around the stations until we had our makeup completed!

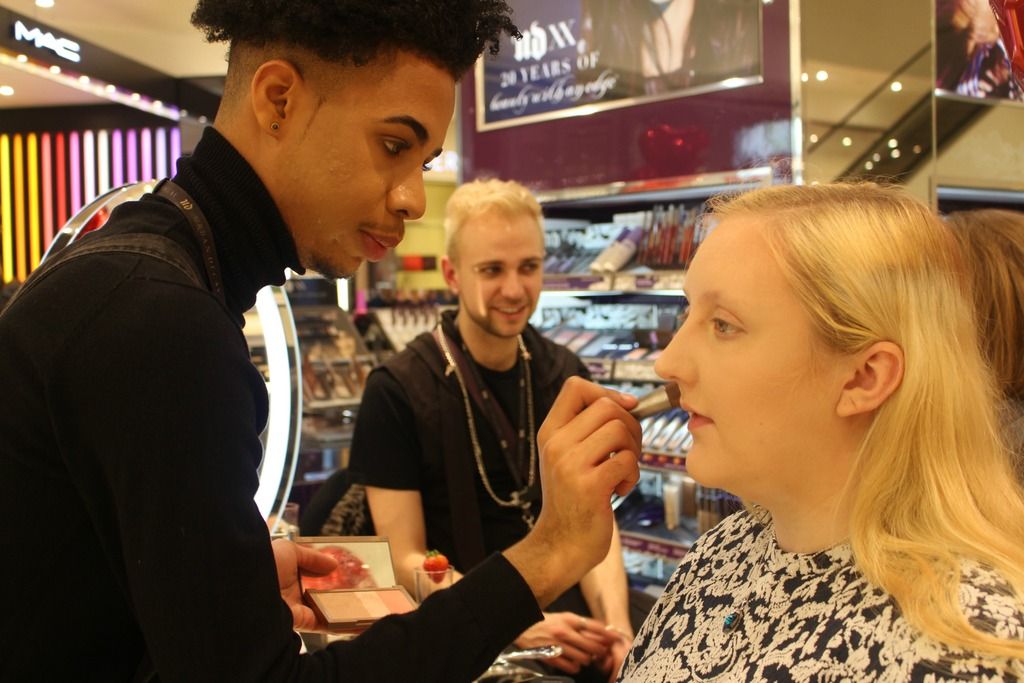
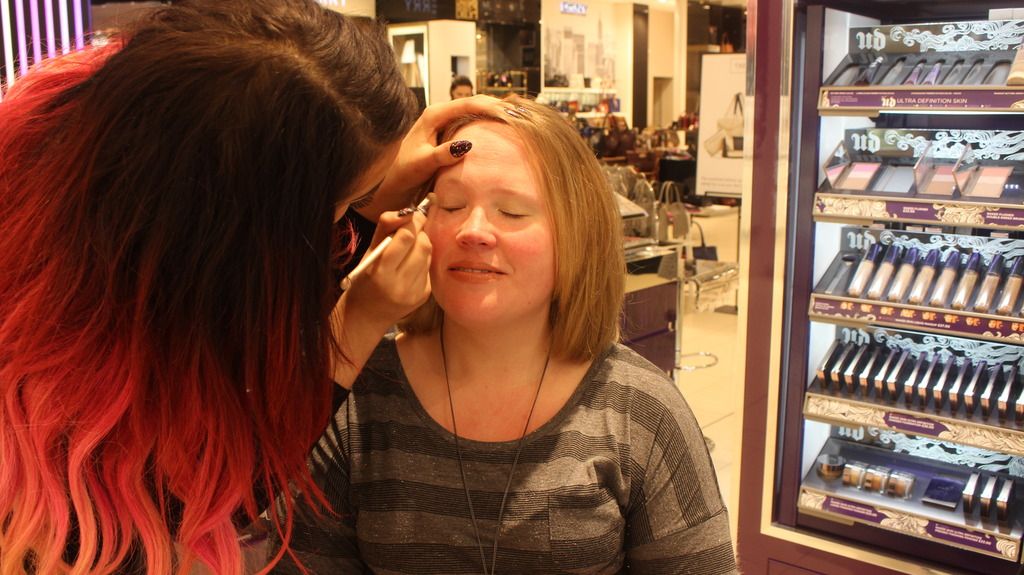
picture of me having my foundation applied by one of the urban decay team
Master at work
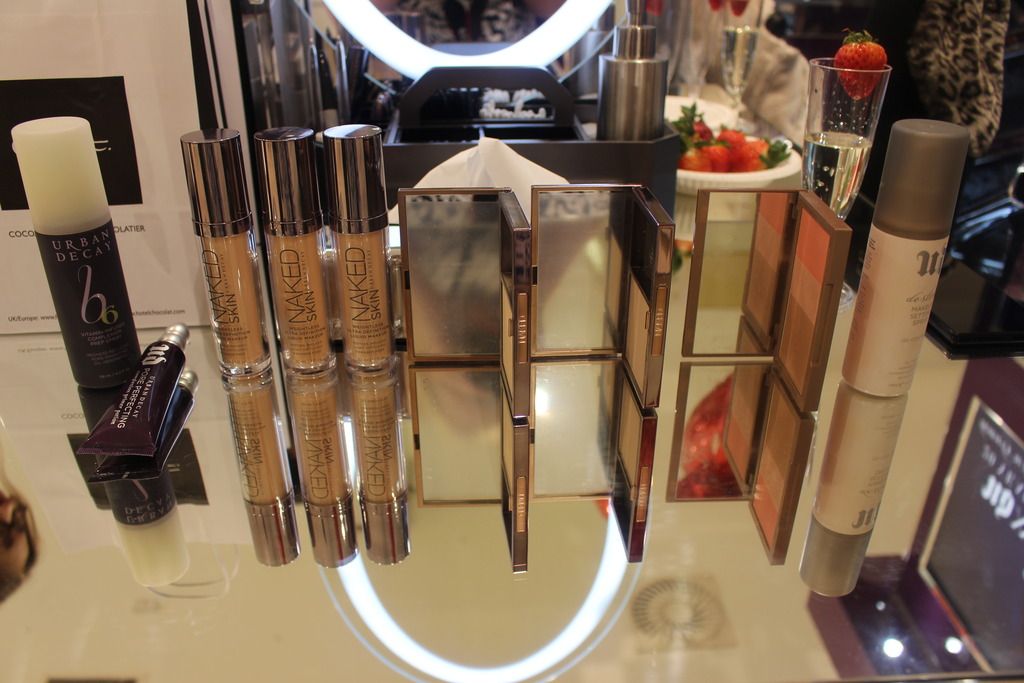
photo of the products used to create my flawless base
That's a lot of face products...
I started by having my base done by the lovely Bradley. He started by lining up all of the products that he was going to use on me, as shown above. He did pick out three foundations to colour match me, but I advised I was most likely the lightest shade they had, and that was definitely the case. So we started with the B6 vitamin prep spray, to keep the skin happy. Followed by the pore perfecting primer, which is silicone based to help smooth out the pores, for a more flawless finish. Then we went onto the Naked Skin foundation, which I was personally dying to try. As soon as he put the foundation on I really noticed how light it felt, I really didn't feel like I had anything on. I was also very delighted and surprised that this covered a lot of my redness on my cheeks, and also a few blemishes that I had too. Then he used the Naked skin concealer, again in the lightest shade, this was just used under my eyes, to cover up my dark circles. We next moved on to the Naked skin ultra definition powder foundation, in the lightest shade. He used this to powder the foundation and concealer, as I had asked for a particularly matte finish, which is my favourite kind, due to having oily skin. To add a little colour and glow back into my face with the skin we used the bronzer and highlighter from the lightest Naked flushed palette. Finally we finished with the De-slick makeup setting spray, designed to control oil, and keep your makeup looking flawless.

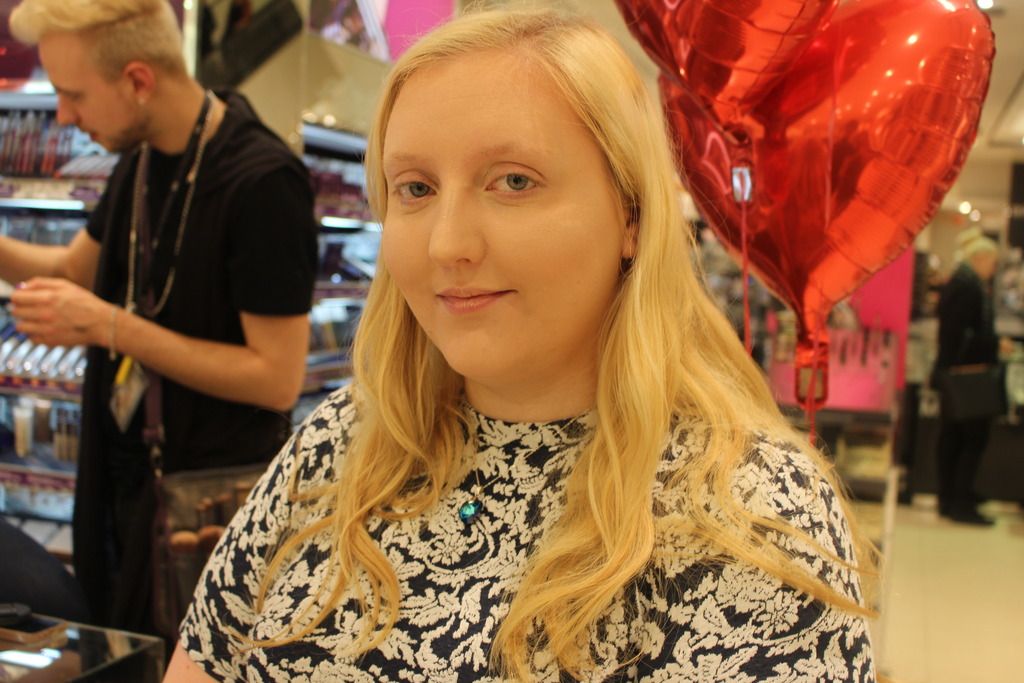
a photo of my complexion once the makeup artist was finished
The finished complexion

After having my skin done, I got to watch a few of the other girls having their makeup done, whilst waiting for one of the stations to become available. I always really enjoying watching people having their makeup done, I think it's something to do with the transformation.

Lisa of United Cakedom having her eye makeup done

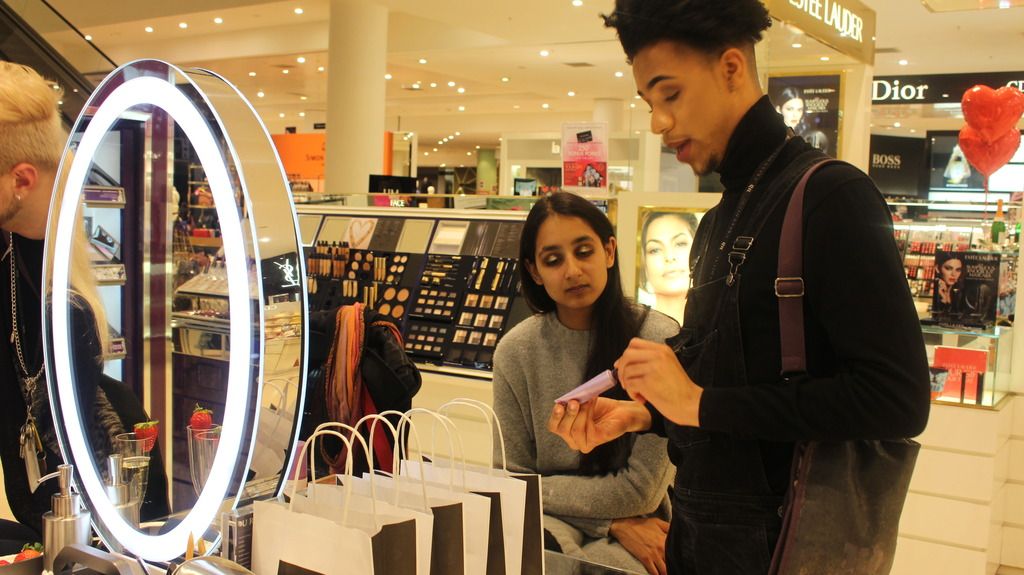
Another complexion consultation in progress

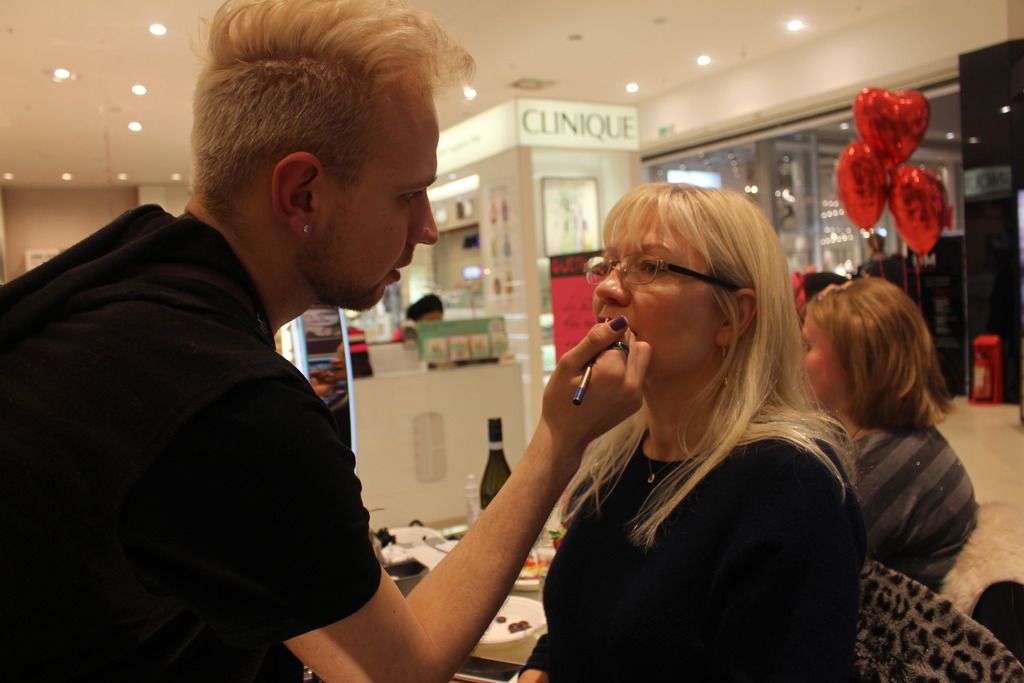
After watching a few of the ladies having their makeup done it was time for me to move to the next station, lips. Unfortunately I didn't get pictures of this being done to me, but all he did was use the 24/7 Glide-on lip liner in bang, which is a lovely bright red, all over the lips, and then on top used one of the Revolution lipsticks in a darker red. For the life of me I cannot remember what the shade he used was called, but the finished effect was a lovely sultry red, perfect for Valentines day.

A lip consultation in progress

Unfortunately I never made it to the eyes station, as the store closed at 8pm, and although the team were very happy to continue working on us, the shutters had gone down and we needed to vacate the shop. The team however were kind enough to suggest us booking in another time to come and get our full face done, which I am certainly planning to do! Finally we were given a Hotel Chocolat goody bag, and the team at Urban Decay were even kind enough to give us a goodie bag, which was very generous of them. 


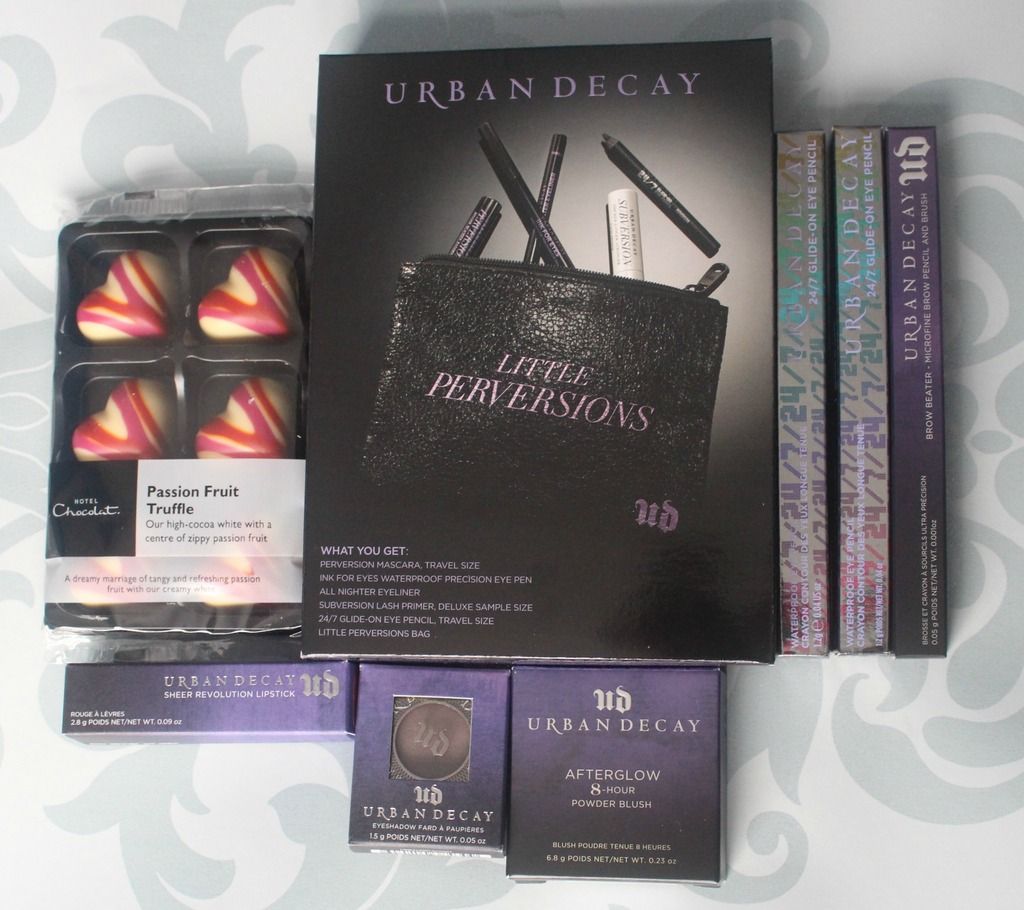
Upon getting home and opening my goody bag I was delighted to see that it was bursting with Urban Decay products that I had never tried before! I will be doing an entirely separate post with swatches of everything I received but for now here is everything that I got in my goody bags:

  • Hotel Chocolat Passion Fruit Truffles
  • Urban Decay Little Perversions Set (includes: Mascara, precision eyeliner, all nighter eyeliner, lash primer, glide-on eyeliner pencil - all travel sized)
  • 2 x Urban Decay glide-on eye pencils in Desperation and Deep End
  • Urban Decay Brow Beater pencil and brush
  • Urban Decay eyeshadow in Bust
  • Urban Decay Afterglow Blush in Kinky
  • Urban Decay Sheer Revolution Lipstick in Sheer Streak
As you can see we were very spoilt by the team, and I just want to say a massive thank you to Lauren of Frank PR for inviting me along to the event in the first place, also a big thank you to House of Fraser for hosting us! It was so great to get to meet some bloggers, and get our makeup done. I can't think of a better way to spend a Friday night.

Let me know in the comments what your favourite Urban Decay products are?
 photo signature_zpsdqnlsjzz.png

Valentines Red Velvet Cheesecake Brownies

Friday, 12 February 2016

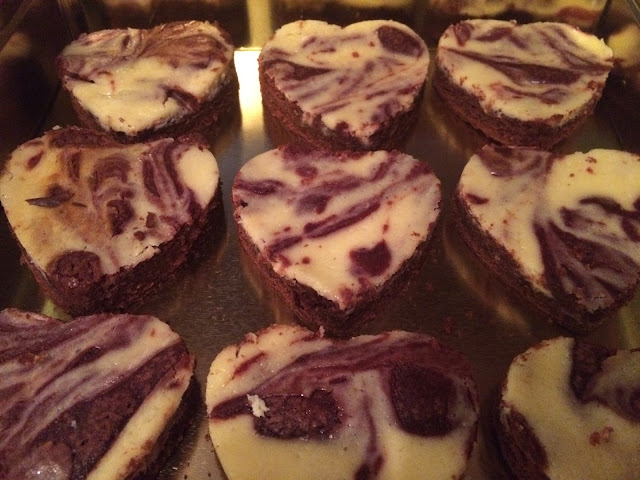
Picture of red velvet cheesecake heart shaped brownies
Beautiful marble effect heart brownies
It's about time that I got back into baking on this blog, and what better time to start than Valentines Day? I saw this recipe for some beautiful heart shaped Red Velvet Cheesecake Brownies from Kawaiisweetworld on Youtube, and I knew that I had to give them a go. I will admit that I'm not 100% that I got the cheesecake part of this recipe right, but I'll get to that in a minute. You will also require Cup Measures for this particular recipe.

picture of ingredients required for the recipe
Ingredients needed for the recipe.
Ingredients for the Brownie:
  • 1 Cup Caster Sugar
  • 1 tsp Vanilla Extract
  • 1/4 Cup Cocoa Powder
  • 1 Stick of Unsalted Butter (113g)
  • Pinch of Salt
  • Red food Colouring (measurements mentioned below)
  • 2 Eggs
  • 3/4 Cup of Plain Flour
Ingredints for the Cheesecake:
  • 8oz Cream Cheese 
  • 1/4 Cup of Caster Sugar
  • 1/2 tsp Vanilla Extract
  • 1 Egg
Special Equipment:
  • Cup Measures
  • 8" x 8" pan: the one I used was about 8" x 11" so don't worry too much if the one you have is a little bigger
  • Heart shaped cutter

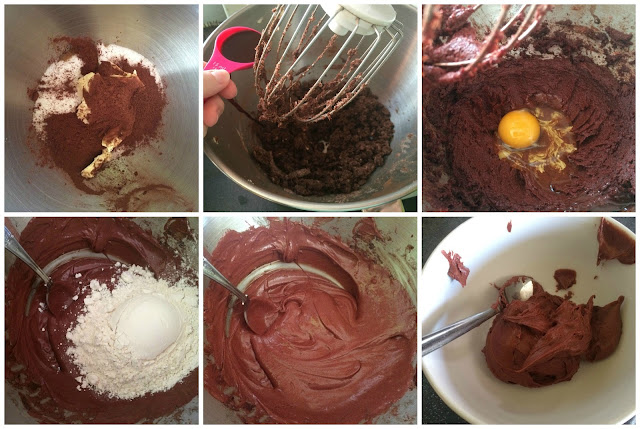
pictures of the steps in making the brownies
Brownie making steps.
We start by preheating the oven to 170 degrees Fan (190 degress/Gas mark 5). Whilst the oven is preheating you will need to grease your tin, for which I used some of the extra butter I had. I then lined the tin with greaseproof paper, which will assist in removing the brownies later. 

To get started with the mix, first combine the butter, sugar, vanilla extract, and salt in a bowl, giving them a good mix. Next we add the red food colouring and this is where some guessing work comes in. The recipe I used states to use either 1 tsp of gel food colouring, OR 1 tbsp of liquid colouring. I used a cheap Tesco liquid food colour, and as such ended up using almost 3 tbsp of the food colouring. This is completely up to you, and your own discretion, add colouring until you are happy with the red colour you have gotten with your brownie mix. Once you are happy with the colour, you add your eggs one by one, giving a good mix in between each addition. The last thing to add is the flour, and just mix until completely combined. Then what you want to do is keep back about 1/3 cup of your mixture in a separate bowl for later, this is what we will use for the marbling effect.
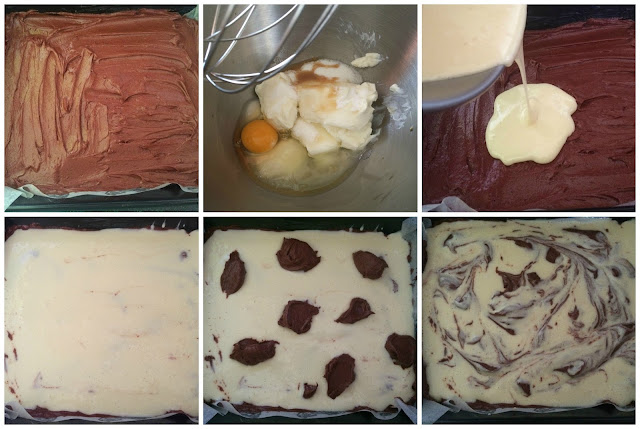
pictures of the cheesecake making and brownie assembling steps
Cheesecake steps, and brownie assembly.
Take the majority of your mixture and tip it into your prepared tin, smoothing the mixture out with a knife, to make it as even as possible. Set this aside and move on to the cheesecake mixture, for which all you need to do is combine the cream cheese, sugar, egg and vanilla extract, and mix until combined. Now once this was done I realised that my cheesecake mixture was very runny, unlike in the video. I Googled how much 8oz was and Google told me 226g, which is what I used, however in hindsight I think I would have just used the full container of cream cheese (280g) and that may have made it a bit thicker.

I poured the cheesecake mixture over the top of the brownie in the tin, and then smoothed it out over the mixture, making sure it was completely covered. This is when you bring back the mixture that you held back earlier. To make the marble design you simply need to blob the mixture all over the top of the cheesecake then run a knife through it to swirl it around. This was quite difficult as my cheesecake mixture was so runny, I think if the cheesecake mixture was thicker it would have been so much easier.

Then they went off into the oven for 30 minutes. Once they were baked I removed them from the oven and allowed them to cool completely in the tin. The final step once cool, was to cut out my heart shapes. The recipe on the Youtube video states that it should make around 11 heart shaped brownies, I managed to cut 9 out of mine. I think this completely depends on the size of your cookie cutter, I went for a medium sized brownie, but had I made them slightly smaller I think I could have gotten the 11 she mentions in the recipe.

Picture of heart shaped, cheesecake marbled brownies
The final result

Considering that before they went in the over my marbling looked a little bit pants, I am really happy with how these turned out. These are the perfect valentines treat for your special someone who has a bit of a sweet tooth. I personally think that they look really impressive seeing that they were simple to make. Upon tasting them I am even more convinced that my boyfriend is going to love eating these, and I know as much as he loves his sweets, they are all the more sweeter when I have made them especially for him.

Are you planning on baking anything for your special someone for Valentines day?
 photo signature_zpsdqnlsjzz.png

Wishlist Wednesday: Valentines Day Gifts

Wednesday, 10 February 2016


In case you didn't already know, it's Valentines day this Sunday, and I don't know about you but I already know what I am hoping to receive this Valentines. To make it easier on my boyfriend I like to make him a list with plenty of options for him to chose from. However he doesn't have to get me something from this list, he can just use this list as a sort of inspiration...

8. Square LED Mirror: £43.23

I will admit that I did put a little something in there that I really don't expect to receive because of the price of it, but a girl can dream right?

Let me know in the comments what you are hoping to receive for Valentines day?
 photo signature_zpsdqnlsjzz.png

Try a Tutorial Tuesday: Valentines Makeup Looks

Tuesday, 10 February 2015

I have to apologise... I currently don't have time to try out a tutorial for you guys because my course started this week, and I'm still getting used to the schedule. I did however, have time to trawl the web and find some of my favourite Valentines Makeup Looks to share with you all!


Who doesn't love Zoella, her V-day Makeup features a bold red lip (which you can never go wrong with in my eyes).


This beautiful smokey brown look with winged liner is from Shonagh Scott, who I had never heard of before, but will be looking into again, I'm sure!


I love this look from MakeupbyAmarie, I have never been daring enough to wear a pink lipstick like that, but I am considering it!


This beautiful pink look by Mayratouchofglam is perfect for a Valentines date night, don't you think?

Let me know in the comments which look your favourite is!
 photo signature_zpsdqnlsjzz.png

Try a Tutorial Tuesday: Valentines Printables

Tuesday, 3 February 2015


That dreaded day is almost upon us every one... Valentines Day! I don't recall ever having had a 'good' valentines day until I met Tim. This year will be our second Valentines together and at the moment we have no plans, and will probably not have any money to buy each other gifts. With that in mind I went searching on Pinterest to see if I could find some 'free' gifts that I could make for him. Luckily for me I was spoilt for choice and settled on looking at printable gifts that I can easily make without him noticing, and in the spirit of Valentines, I thought I would share them with all of you!


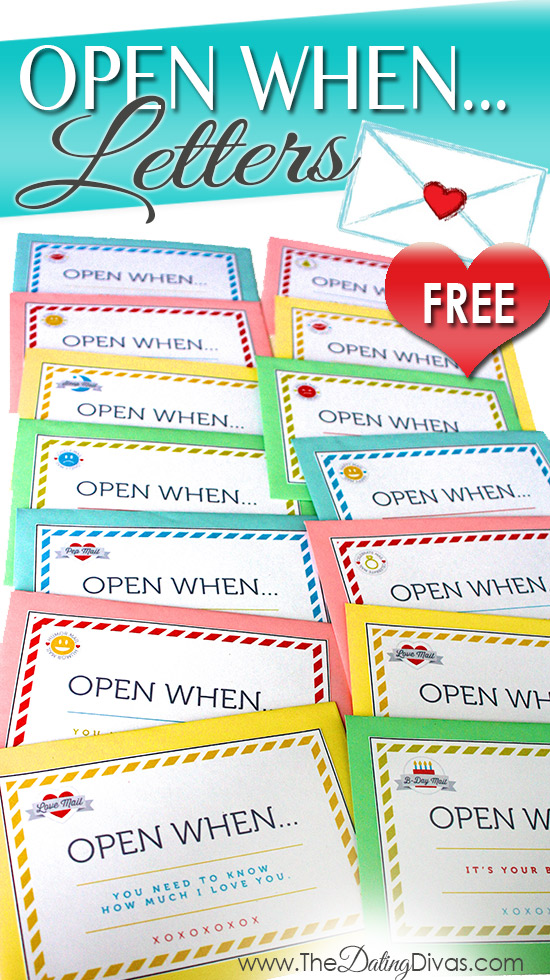
I had seen this 'Open When...' letters when I had been looking on Pinterest before, so I was delighted when I found a free printable version from The Dating Divas blog. It comes with envelope stickers and cards for you to write your letters on, everything you need to make a heartfelt gift for less.


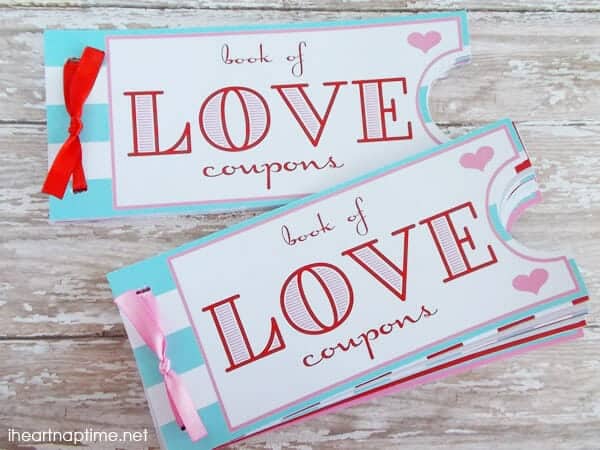
Now this idea is hardly a new one, I have seen love coupons everywhere, and I'm sure you can even by them in stores now. Why buy them, when you can make them yourself? Or even print them from Iheartnaptime? I myself have never actually given a Love Coupon to anyone, but maybe this year will be Tim's lucky year! 


This was another idea that I have seen floating around Pinterest for a long time, and that is 12 months of dates. I think when you live together especially it isn't always easy to find time to go on a date, so I think something like this would be great for reminding you to take some time for each other. This printable from Thinking Closet will definitely help to get you started!


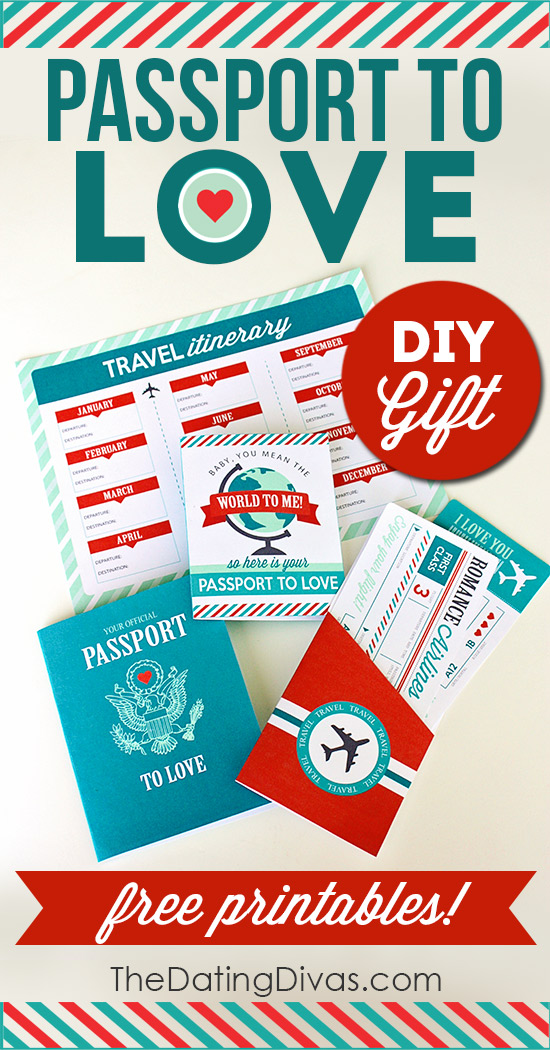
Another printable from the Dating Divas! This one is pretty much the same as the 12 months of dates, but it comes in this adorable travel theme. I have never seen anything like this, it is too cute, and what boyfriend can resist something as beautiful as this? I'm torn now about which I like more... I may just have to make ALL of these for Tim...


The final printable comes from Moms and Munchkins and it is actually something that I have done before, a Romantic Scavenger (Treasure) Hunt. Nothing says I love you more than taking the time and effort to play something as fun as a treasure hunt, you can hide clues just around the home, OR you can go crazy and hide them around your home town, highlighting all your favourite places! I know that I will be doing this for Tim one day, but I'm not sure it will be this Valentines day!

Wow, I'm so impressed with the ideas that are out there on Pinterest, I'm sure I could have found 1000 more, but I'll stick with what I've got for now!

Let me know in the comments which of these you think I should make for Tim, as I honestly can't decide...


 photo signature_zpsdqnlsjzz.png

Happy Valentines Day?

Thursday, 14 February 2013

Hey there! I hope you are all having a wonderful Valentines and have received at least one card or gift. If you haven't then here's a Valentine from me!


I have a strong dislike of Valentines Day. Probably because I myself have never experienced a nice or even a romantic valentines day. I used to exchange Valentines cards/presents with a boy in my village because our family were friends and we wanted to at least get one valentine. Since coming to university the only Valentines day cards I get are from my mum, and for some reason always feature an animal on the front. This year, it's a Meerkat!

So in honour of not liking Valentines day I thought I'd share with you a few of my Valentines experiences!

When I was in Primary School, I can't remember what year. A boy in the year below me asked me if I wanted to go out with him on Valentines day. So I said ok, being young, and foolish. So on Valentines day he came to pick me up with his mum. He gave me a cute little card and some chocolates, and off we went. His mum took us into town and we went and had a McDonalds (the most romantic of all the foods). Then he dragged me into a games shop where he proceeded to fawn over a million pieces of Warhammer. Basically Warhammer is this game where you collect and paint the pieces yourself. Anyway, when we got back to his he began to paint his Warhammer and I sat there bored for the next two hours until my mum came to pick me up. Needless to say my first Valentines experience didn't go down too well!

Fast forward to the age of 16. I was dating a 19 year old, who happened to be the brother of one of my old school friends. The term 'friend' used loosely here. We'd been going out about a week when Valentines day rolled around. He got me a card, some roses and a red silk cushion (because I liked to snuggle things). Which I thought was amazingly sweet. We went to the cinema and got a pizza if memory serves me. That was a good Valentines day.

My 17th Valentines day I was actually in a long distance relationship with a boy from Canada! (I know STRANGER DANGER!) Anyway I think he sent me a card, but I'm not sure. I managed to find the website for a florist in his area and sent him some roses and a card. He was pretty sweet and loved the roses I sent him. I'm pretty sure I put more effort into that Valentines then he did. Which always seems to be the case.

I was racking my brain for a while trying to think about what me and my ex did for the few Valentines days that we were together. The first one we spent together I orchestrated what I can only describe as a sexy treasure hunt. I'll let you think of that what you will. That was a good Valentines day from what I remember of it, but I spent most of the day pleasing my boyfriend and I don't remember there being anything particularly romantic or surprising for me on that day. The second Valentines day we spent separated because we'd had an argument. The argument revolved around me accidentally agreeing to work on Valentines day, because I got my days mixed up. He then pretty much went on a sulk for a while. He did buy me Assassin's Creed Brotherhood to make up for being a douche though, so that was a win!

Since then I have been single and haven't had a nice romantic valentines. In fact my life has been void of romance full stop for a good few years now. In fact I'm not sure I really believe that romance exists anymore. I guess we'll see.

Tonight I'm going to see a hypnotist act at the union with my best friend Ellie, so I guess I'm just going to keep pretending that Valentines Day isn't happening!

Let me know in the comments what your best/worst Valentines experience is!


 photo signature_zpsdqnlsjzz.png